Introduction
As the seasons change and evenings turn cooler, we're all on the lookout for that perfect comfort food. Cheesy Garlic Chicken Wraps deliver warmth and satisfaction in every bite, making them an ideal addition to your dinner rotation.
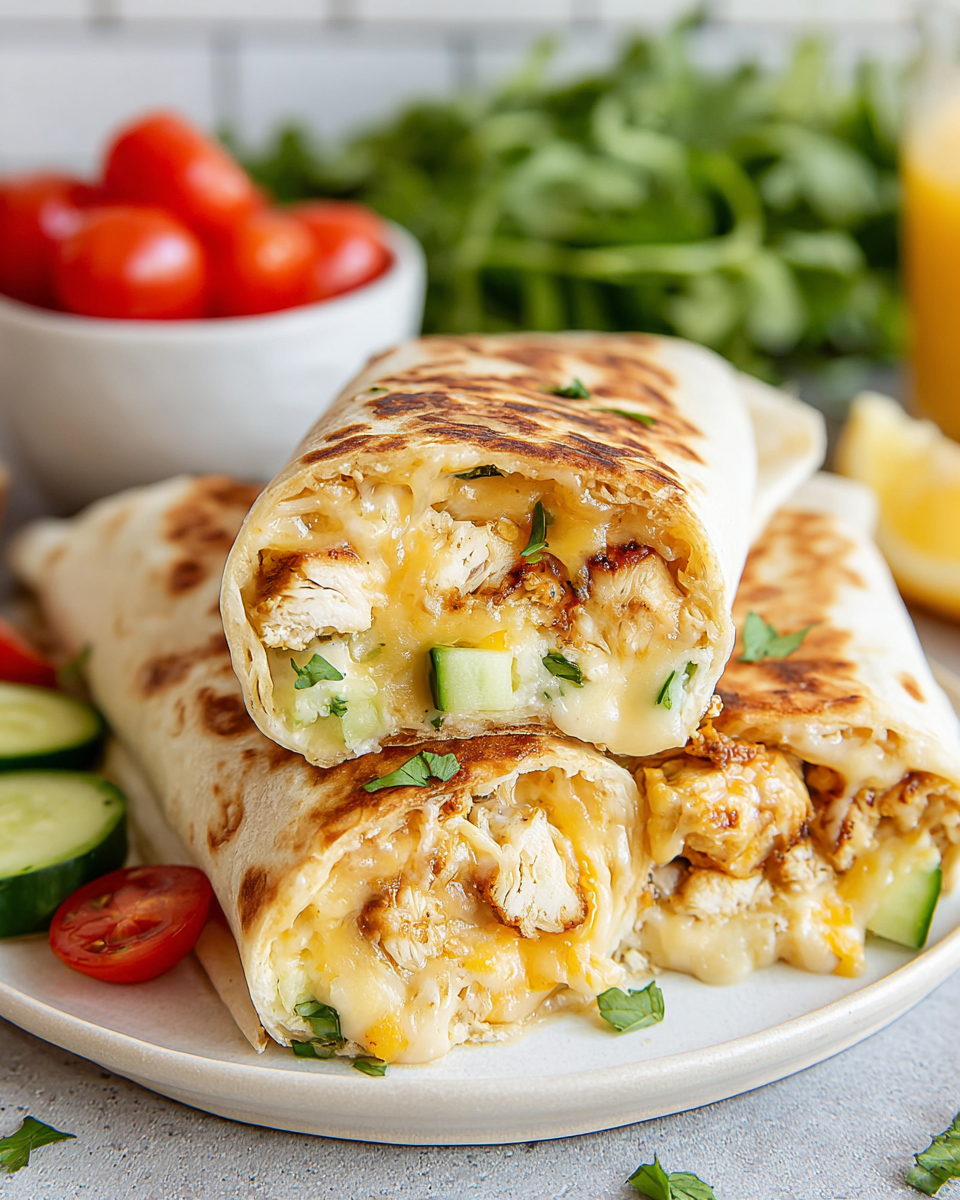
These wraps combine juicy chicken, creamy cheese, and a robust garlic flavor, all enclosed in a soft tortilla. Not only are they quick to whip up, but they also promise to become a family favorite, enjoyed by young and old alike.
Perfect for a cozy weeknight meal or a fun gathering, this recipe is simple yet allows for creativity in the kitchen. Let's dive into the ingredients and find out how this delicious dish comes together.
Ingredients
- 2 cups cooked chicken, shredded
The star of this recipe, shredded chicken adds a satisfying protein element that makes each wrap filling and hearty. Using pre-cooked chicken can save time, but homemade adds a fresh, rich flavor. - 1 cup cream cheese, softened
Cream cheese provides a velvety texture that binds the other ingredients together. This creamy aspect helps create the ooey-gooey goodness that will keep you reaching for more wraps. - 1 cup shredded mozzarella cheese
Mozzarella cheese melts beautifully, creating that stretchy, cheesy quality we all love. It complements the cream cheese, enhancing the overall gooeyness of the wraps. - 3 cloves garlic, minced
Garlic adds an aromatic punch that elevates the flavor profile of the dish. It infuses the filling with a savory warmth that balances the richness of the cheeses. - 1 teaspoon garlic powder
Adding garlic powder intensifies the garlic flavor, providing depth without overpowering the other ingredients. This ensures a unified taste in every bite. - Salt and pepper to taste
Seasoning is essential to bring out the flavors of the dish. Adjusting the salt and pepper allows you to customize the wrap to your palates' preferences. - 4 large tortillas
Tortillas are the foundation of the wraps, holding all the delicious filling together. Large tortillas provide ample space for generous amounts of chicken and cheese. - 1/4 cup fresh parsley, chopped (optional)
Fresh parsley adds a pop of color and a hint of freshness that brightens the dish. It's also a great way to incorporate some greenery into your meal.
Directions & Preparation
Step 1: Preheat your oven to 375°F (190°C).
Preheating the oven ensures that the wraps cook evenly and helps achieve a crispy exterior. This step is crucial as it prepares the cooking environment before the wraps are stuffed and ready for the oven.
Step 2: In a large mixing bowl, combine the shredded chicken, cream cheese, mozzarella, minced garlic, garlic powder, salt, and pepper.
Mixing these ingredients together is critical to ensure an even distribution of flavors and textures throughout the filling. The cream cheese will help bind the chicken and cheese, creating that delightful gooeyness.
Step 3: Spread approximately 1/4 of the filling onto each tortilla.
Evenly distributing the filling prevents overstuffing, which can lead to messy wraps. Spreading the filling helps ensure that each wrap gets a balanced amount of flavors and ingredients.
Step 4: Roll up the tortillas tightly, folding in the sides as you go to secure the filling.
Rolling the tortilla tightly is essential for both presentation and preventing spillage during cooking. Folding in the sides creates a neat package, helping to keep everything contained.
Step 5: Place the rolled wraps seam-side down on a baking sheet.
Positioning the wraps seam-side down prevents them from unrolling while baking. This step also allows them to crisp up evenly, ensuring each bite has that perfect texture.
Step 6: Bake the wraps for 15-20 minutes, or until golden brown and crispy.
Baking gives the wraps a beautiful color and texture, making them appealing while enhancing the flavors. Keep an eye on them towards the end to avoid over-baking, which can lead to dryness.
Step 7: Remove from the oven and let cool for a few minutes before slicing.
Allowing the wraps to cool slightly makes slicing easier and prevents the cheesy filling from spilling out. This brief waiting period builds anticipation for the deliciousness about to come!
Step 8: Garnish with chopped parsley if desired, and serve warm.
A sprinkle of fresh parsley not only adds a touch of color but also a fresh finish to the wraps. Serving them warm enhances the cheesy goodness and comforting nature of this delightful dish.

Elevate Your Wraps with Creative Fillings
While the classic cheesy garlic chicken filling is undeniably delicious, you can take these wraps to new heights by experimenting with different ingredients. Consider adding sautéed mushrooms for an earthy flavor, or spicy jalapeños if you're craving heat. Fresh avocado can introduce creaminess, while roasted red peppers can contribute a sweet twist. The key is to keep the balance of flavors in mind, ensuring the cheesy goodness remains the star.
Perfect Pairings for Your Wraps
Pairing your cheesy garlic chicken wraps with the right accompaniments can enhance your meal experience. A light, tangy salad dressed in a zesty vinaigrette can provide a refreshing contrast to the rich wraps. Alternatively, a simple side of crispy sweet potato fries or homemade coleslaw offers delightful texture and flavor combinations. Think about adding dips like creamy ranch or spicy salsa for an extra layer of enjoyment.
Make It a Family Affair: Kids in the Kitchen
Getting your children involved in the kitchen can turn cooking into a fun family activity. Allow them to help mix the filling or roll the tortillas, fostering a sense of accomplishment and enjoyment. They can also personalize their wraps with their favorite ingredients, making this a great opportunity for creativity. Cooking together not only creates lasting memories but also encourages healthy eating habits.
FAQs
What if the filling is too thick?
If you find the filling is too thick, adding a small splash of milk or cream can help achieve a smoother consistency. Mix well until you reach your desired texture.
Can I use a different type of cheese?
Absolutely! While mozzarella provides excellent meltability, feel free to substitute with other cheeses like cheddar or pepper jack for added flavor.
What can I do if my chicken is overcooked?
Overcooked chicken can be tough and dry. Try shredding it finely and mixing it back into the creamy filling, which can help mask the dryness with the added moisture of the cheeses.
How can I scale this recipe up for a party?
To scale up, simply increase the quantities of all ingredients proportionately. Consider doubling or tripling the recipe, and ensure you have enough baking sheets for even cooking.
What if the wraps come out too soggy?
If your wraps are soggy, ensure that you don’t overstuff them and that there’s enough baking time for the tortillas to crisp up. Baking them longer might also help.
Can I prepare the filling ahead of time?
Yes, you can prepare the filling in advance and store it in the refrigerator for a day or two. Just mix well before using to ensure everything is evenly combined.
Conclusion
Cheesy Garlic Chicken Wraps are not just a meal; they embody comfort and warmth, beautifully wrapped in an easy-to-handle format. With a balance of flavors and textures, they cater to both adults and kids alike, creating an opportunity for family interaction around the dinner table.
As you experiment with different fillings and sides, you’ll find that these wraps can adapt effortlessly to your culinary whims. So gather your ingredients, invite the family to join, and relish in making a dish that’s sure to be savored bite after bite.
Recipe Card
Notes
Additional serving suggestions: pair with a crisp salad, garlic bread, or roasted seasonal vegetables for balance.
For make-ahead, prep components separately and assemble just before heating to preserve texture.
Taste and adjust with acid (lemon/vinegar) and salt right at the end to wake up flavors.