Introduction
Few desserts embody the spirit of indulgence like a classic New York cheesecake. Its rich, creamy texture and buttery crust create a satisfying experience that’s perfect for any occasion. While it may seem daunting, making this cheesecake at home can be a truly rewarding endeavor.
This iconic dessert has its roots in New York City but has captured hearts worldwide. With a few key ingredients and careful attention to detail, you can recreate this classic at home. It’s a celebration of flavors and textures that will surely impress family and friends.
Ingredients
- 2 cups graham cracker crumbs
These crumbs form the base of your cheesecake crust, providing a sweet and slightly crunchy texture that complements the creamy filling. - 1/2 cup granulated sugar
Sugar adds sweetness to the crust and balances the tartness of the cream cheese in the filling, ensuring a harmonious flavor profile. - 1/2 cup unsalted butter, melted
Butter helps bind the graham cracker crumbs together, adding moisture and richness that enhances the overall flavor of the crust. - 4 (8-ounce) packages cream cheese, softened
Cream cheese is the star of this dessert, providing the signature creamy and smooth texture that defines a New York cheesecake. - 1 cup granulated sugar
Additional sugar in the filling sweetens the cheesecake while also creating a smooth consistency, allowing the flavors to meld beautifully. - 1 teaspoon vanilla extract
Vanilla enhances the overall flavor of the cheesecake, adding depth and a subtle warmth that complements the creaminess. - 4 large eggs
Eggs are essential for structure, helping the cheesecake set properly and providing a rich texture as it bakes. - 1/4 cup sour cream
Sour cream adds a luscious creaminess and a slight tang that balances the richness of the cream cheese, giving your cheesecake complexity. - 1 tablespoon all-purpose flour
A small amount of flour helps stabilize the cheesecake filling, preventing it from cracking and providing a smooth slice.
Directions & Preparation
Step 1: Preheat your oven to 325°F (160°C).
Preheating your oven ensures even baking, essential for a cheesecake that sets perfectly without cracking. An accurate oven temperature is crucial for achieving the right texture.
Step 2: Prepare the crust by combining graham cracker crumbs, melted butter, and sugar in a bowl.
Mixing the crust components effectively binds them together. Make sure the mixture resembles wet sand; this helps it hold shape when pressed into the pan.
Step 3: Press the mixture firmly into the bottom of a 9-inch springform pan.
Pressing the crust evenly creates a solid and stable base that holds up the creamy cheesecake filling. This step is vital for the integrity of the dessert.
Step 4: Bake the crust for 10 minutes, then let it cool while preparing the filling.
Baking the crust slightly cements its texture, giving it a crispy bite. Allowing it to cool prevents the filling from cooking too quickly when poured over.
Step 5: In a large mixing bowl, beat the softened cream cheese until smooth and creamy.
Beating the cream cheese until smooth is key to avoiding lumps in your cheesecake. A smooth base allows for better incorporation of the remaining ingredients.
Step 6: Add in sugar and vanilla extract, mixing until fully combined.
Mixing sugar and vanilla into the cream cheese integrates the flavors, which enhances the sweetness without being overpowering. Aim for a light and fluffy texture.
Step 7: Add eggs one at a time, mixing slowly after each addition.
Incorporating eggs one at a time ensures they emulsify properly, creating a cohesive filling that’s rich and creamy. Overmixing can introduce too much air, causing cracks.
Step 8: Mix in sour cream and flour until just combined, avoiding overmixing.
The sour cream provides that signature tanginess, while flour adds stability. Mixing just until combined helps prevent a dense cheesecake that lacks that classic, airy texture.
Step 9: Pour the filling over the cooled crust and smooth the top with a spatula.
Evening out the filling ensures uniform baking and a pleasing final appearance. Take your time here for an aesthetically pleasing cheesecake.
Step 10: Bake for 50-60 minutes or until the center is set but slightly jiggly.
The goal is to have the outer edges set while the center remains slightly undercooked. This distinction ensures your cheesecake remains creamy and avoids drying out.
Step 11: Turn off the oven, crack the door, and let the cheesecake cool inside for an hour.
Cooling gradually in the oven prevents sudden temperature shifts that cause cracking. This gentle transition helps maintain the smooth surface of your cheesecake.
Step 12: Refrigerate for at least 4 hours or overnight before serving.
Chilling the cheesecake not only allows flavors to meld but also leads to a better texture. It should be firm yet creamy when sliced. Patience truly pays off!

The Secret to a Perfectly Creamy Filling
The secret behind a smooth cheesecake lies in how you prepare your filling. Using room temperature cream cheese and mixing at a low speed helps maintain that velvety texture we crave. It’s essential to ensure there are no lumps in the mixture before adding eggs, which can disrupt the silky consistency.
Troubleshooting Common Cheesecake Issues
Even the most experienced bakers can face challenges. A common issue is cracks on the surface, often caused by rapid temperature changes during baking or cooling. To avoid this, use a water bath during baking, and let the cheesecake cool gradually in the oven to minimize any shifts that could lead to cracks.
Enhancing Flavor with Toppings and Variations
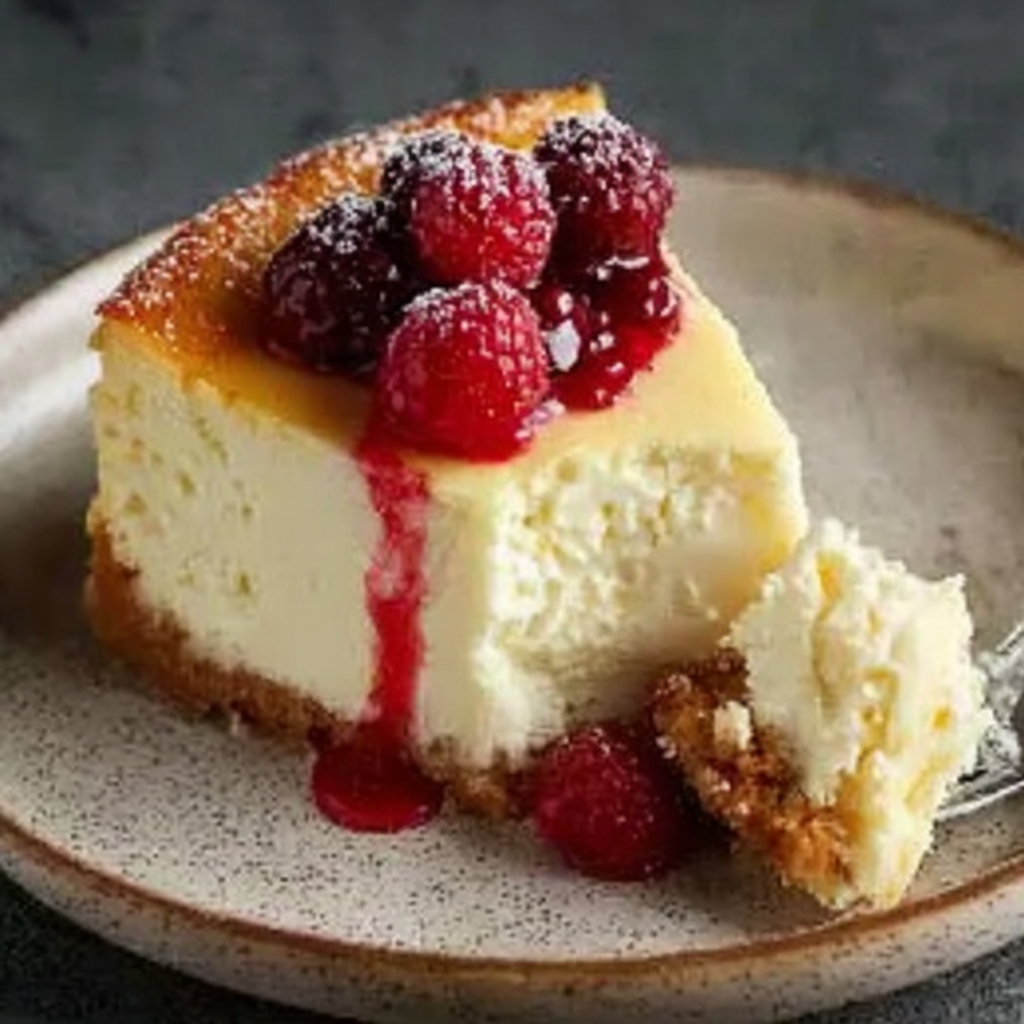
Cheesecake is incredibly versatile, so feel free to experiment with flavors and toppings. A drizzle of berry compote or a sprinkle of lemon zest can elevate each slice. Consider adding chocolate chips to the filling or a layer of caramel sauce for a twist on the classic, delighting your guests with a personal touch.
FAQs
What should I do if my cheesecake cracks on top?
If your cheesecake cracked, it may be due to rapid temperature changes. To prevent this in the future, it’s best to leave the oven door slightly ajar while it cools and consider using a water bath.
Can I use low-fat cream cheese for this recipe?
While you can substitute low-fat cream cheese, it may affect the texture and creaminess of the cheesecake. Full-fat cream cheese yields the best results.
How can I tell when my cheesecake is done baking?
A properly baked cheesecake should have set edges with a slightly jiggly center. If the edges look firm and the middle wobbles gently, it’s ready to come out.
What if I want to make a larger cheesecake?
To scale this recipe, you can increase the ingredients proportionally, but use a larger springform pan. Adjust the baking time, as a thicker filling might need a bit longer to set.
How can I make sure my cheesecake has the right consistency?
The key to the right consistency lies in the mixing process. Ensure all ingredients are at room temperature and mix until just combined to avoid over-aerating the batter.
What if my cheesecake is too dense?
A dense cheesecake could be due to overmixing or not enough air incorporated. To achieve a lighter texture, mix on a low speed and avoid overbaking.
Conclusion
Creating a classic New York cheesecake at home is a labor of love that rewards you with an incredibly rich dessert. With this recipe, you can impress your family and friends while enjoying the satisfaction of homemade goodness.
Whether served plain or adorned with your favorite toppings, a cheesecake often evokes a sense of nostalgia. Celebrate moments with this timeless dessert and relish every bite.
Recipe Card
Notes
Additional serving suggestions: pair with a crisp salad, garlic bread, or roasted seasonal vegetables for balance.
For make-ahead, prep components separately and assemble just before heating to preserve texture.
Taste and adjust with acid (lemon/vinegar) and salt right at the end to wake up flavors.