Introduction
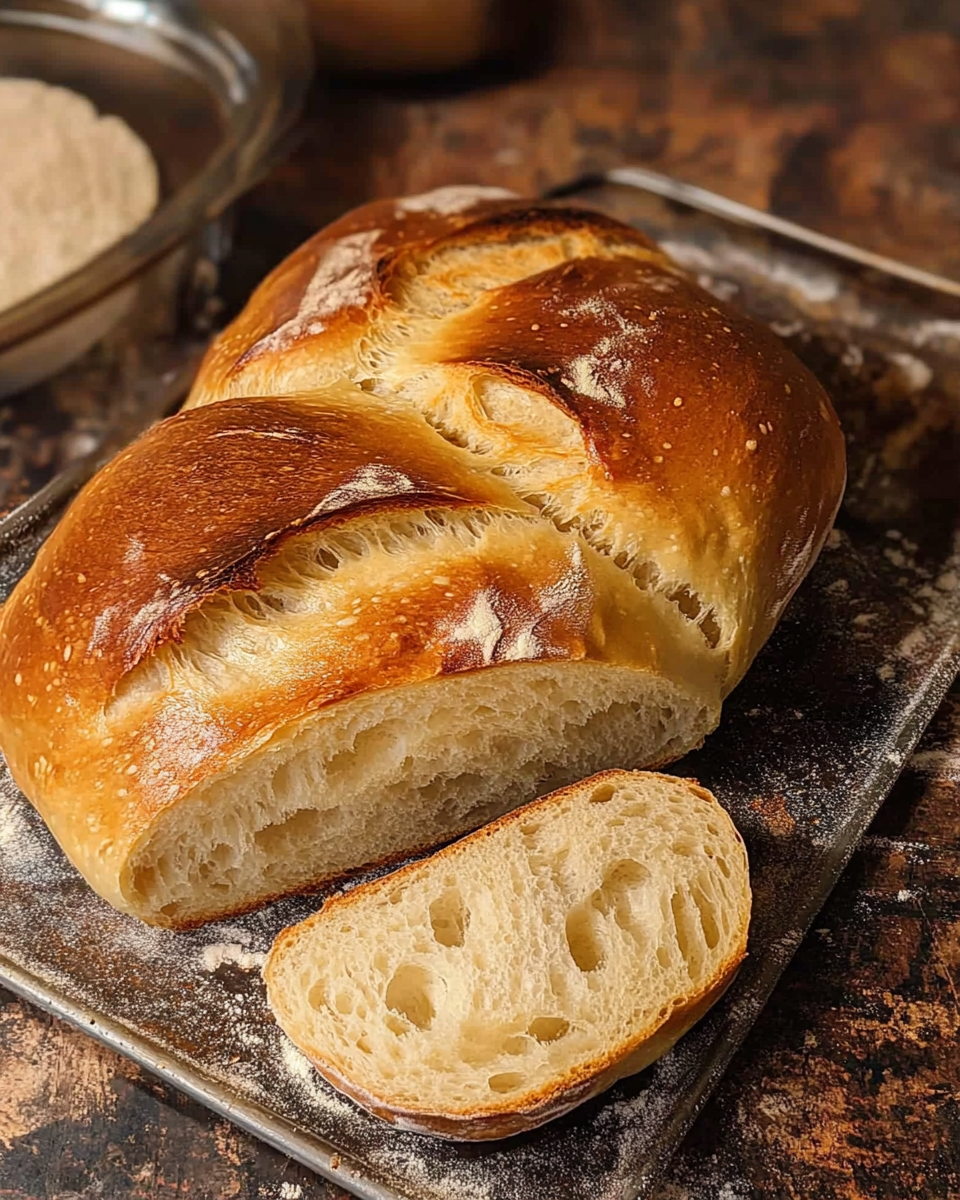
Artisan bread is a beloved staple, known for its crusty exterior and soft, flavorful interior. The beauty of making your own lies not just in the taste but in the process itself, which can be meditative and rewarding.
With just a few quality ingredients and a little patience, anyone can achieve a loaf that rivals those found in local bakeries. The aromas wafting through your home while the bread bakes can turn even the most mundane day into something special.
Ingredients
- 500g bread flour
Bread flour is high in protein, which helps develop gluten, giving the bread its chewy texture and strength. - 375ml warm water
Warm water activates yeast, ensuring a good rise. It also hydrates the flour properly, essential for dough formation. - 10g salt
Salt enhances flavor significantly, while also controlling yeast activity to prevent over-proofing. - 7g active dry yeast
Yeast is the leavening agent that ferments sugars in the dough, creating carbon dioxide and alcohol, which causes the bread to rise. - 10g sugar
Sugar serves as food for the yeast, promoting fermentation. It also helps the crust brown beautifully during baking.
Directions & Preparation
Step 1: Combine dry ingredients
In a large mixing bowl, whisk together the flour, salt, and sugar. This step ensures even distribution of the salt and sugar, preventing any overly salty or sweet bites in your final loaf.
Step 2: Activate the yeast
Pour the warm water into a separate bowl, then sprinkle the yeast over the top. Allow it to sit for about 5-10 minutes until it becomes frothy. This process indicates that the yeast is alive and ready to work, ensuring proper rise.
Step 3: Mix the dough
Add the yeast mixture to the dry ingredients. Stir with a wooden spoon or your hands until a shaggy dough forms. This is where the flour absorbs the water, and a rough dough begins to take shape.
Step 4: Knead the dough
Transfer the dough to a floured surface and knead for about 10 minutes until smooth and elastic. Kneading develops the gluten structure, which is essential for the bread’s texture. The dough should spring back when poked.
Step 5: First rise
Place the kneaded dough in a lightly oiled bowl, cover with a cloth, and let it rise in a warm spot for about 1-2 hours, or until doubled in size. This crucial step allows the yeast to ferment, creating flavor and air pockets.
Step 6: Shape the dough
After the first rise, gently deflate the dough and transfer it to a floured surface. Shape it into a round or oval loaf, tucking the edges under to create surface tension. This shaping helps form a crusty exterior during baking.
Step 7: Second rise
Place the shaped dough on a baking sheet lined with parchment paper, cover, and let it rise for another 30-60 minutes. The second rise is essential for achieving a light and airy crumb inside your bread.
Step 8: Preheat the oven
While the dough is rising, preheat your oven to 220°C (430°F). Proper preheating ensures that your loaf bakes evenly and develops a crust quickly once placed inside.
Step 9: Score the dough
Just before baking, use a sharp knife or razor to score the surface of the dough. This allows steam to escape and helps control the shape of the bread as it expands in the oven.
Step 10: Bake
Bake the bread in the preheated oven for about 25-30 minutes or until golden brown. The heat cooks the dough, caramelizing the sugars for a rich flavor and creating that desirable crust.
Step 11: Cool the bread
Once baked, remove the bread from the oven and let it cool on a wire rack. Cooling is critical as it allows the internal moisture to redistribute, ensuring the bread remains soft and prevents sogginess.

Understanding Hydration Levels
Hydration in bread making refers to the ratio of water to flour, affecting the dough’s consistency and texture. Higher hydration leads to a more open crumb and chewy structure, ideal for artisan bread. However, dough that’s too wet can be challenging to handle. Finding the right balance for your personal style is a matter of practice and patience.
The Importance of Temperature and Environment
Yeast thrives in a warm environment, making temperature a critical factor in bread making. Ideal room temperature promotes fermentation, leading to better flavor and texture. Conversely, cooler conditions slow down fermentation, which may necessitate longer rising times. Knowing how to manipulate your environment can elevate your bread making experience.
Experimenting with Flavors and Add-ins
Artisan bread isn’t just a canvas for technique; it’s also a platform for creativity. Once you’ve mastered the basic recipe, consider adding herbs, cheese, or olives to elevate your loaf. These additions can enhance flavor profiles and allow for personal customization, turning a simple bread recipe into a signature creation.
FAQs
What should I do if my bread dough is too sticky?
If your dough feels overly sticky, try incorporating a little more flour during the kneading process until it’s manageable. Be cautious not to add too much, as it can alter the final texture.
How can I achieve a crustier crust?
For a crustier loaf, place a pan of water in the oven while baking to create steam, which helps develop a crunchy crust.
What if my bread rises too quickly?
If your dough rises too fast, it may overproof, leading to a dense bread. To avoid this, reduce the amount of yeast used or refrigerate the dough for a slower rise.
Can I add whole grains to the recipe?
Yes, you can replace a portion of the white flour with whole grain flour. Just be aware that this might change the hydration requirements.
What happens if I don’t let the dough rise long enough?
If the dough doesn’t rise adequately, the bread will be dense and may not have a pleasant texture. Always ensure it doubles in size during the first rise.
How do I know when my bread is fully baked?
Tap the bottom of the loaf; it should sound hollow if it’s fully baked. You can also use a thermometer; the internal temperature should be around 90°C (190°F).
Conclusion
Making artisan bread is an art that combines simplicity with creativity. Each loaf is a chance to connect with age-old traditions and to truly savor the flavors of home-baked goodness.
With practice and experimentation, you’ll discover the style and flavors that suit your palate. Embrace the process, and enjoy the delightful journey of bread making.
Recipe Card
Notes
Additional serving suggestions: pair with a crisp salad, garlic bread, or roasted seasonal vegetables for balance.
For make-ahead, prep components separately and assemble just before heating to preserve texture.
Taste and adjust with acid (lemon/vinegar) and salt right at the end to wake up flavors.