Introduction
There’s something undeniably delightful about the combination of dark chocolate and fresh blackberries. When you incorporate these flavors into a cupcake, you create a sophisticated treat that’s perfect for any occasion, from birthday celebrations to casual afternoon indulgences.
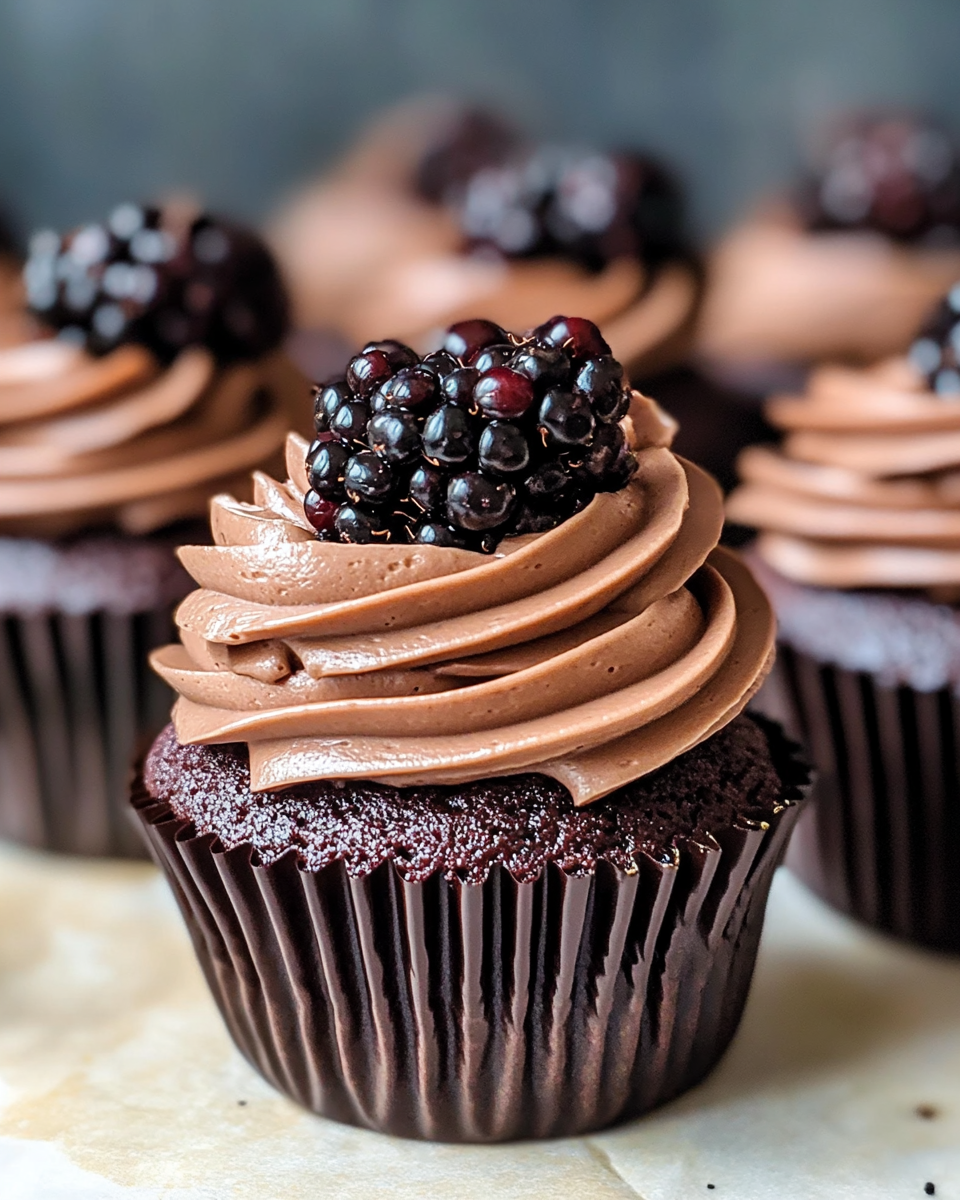
These dark chocolate blackberry cupcakes offer a rich, moist texture paired with a burst of fruity tang. The chocolate base is enhanced by the sweetness of the blackberries, making each bite a delightful experience. Whether you’re impressing guests or treating yourself, this recipe will soon become a favorite in your baking repertoire.
Let’s explore how to bring this delicious dessert to life in your own kitchen. With straightforward steps and pantry-friendly ingredients, you’ll be on your way to enjoying warm, mouthwatering cupcakes in no time.
Ingredients
- 1 cup all-purpose flour
- 1/2 cup unsweetened cocoa powder
- 1 teaspoon baking soda
- 1/4 teaspoon salt
- 1/2 cup unsalted butter, softened
- 1 cup granulated sugar
- 2 large eggs
- 1 teaspoon vanilla extract
- 1/2 cup buttermilk
- 1/2 cup dark chocolate chips
- 1 cup fresh blackberries
Directions & Preparation
- Preheat your oven to 350°F (175°C) and line a muffin tin with cupcake liners.
- In a medium bowl, whisk together the flour, cocoa powder, baking soda, and salt until well combined.
- In a large mixing bowl, cream the softened butter and granulated sugar until light and fluffy, about 3-5 minutes.
- Add the eggs, one at a time, mixing well after each addition. Stir in the vanilla extract.
- Gradually mix the dry ingredients into the wet mixture, alternating with the buttermilk, starting and ending with the flour mixture. Be careful not to overmix.
- Fold in the dark chocolate chips and most of the blackberries, reserving a few for garnish.
- Spoon the batter into the prepared cupcake liners, filling each about two-thirds full.
- Bake for 18-20 minutes, or until a toothpick inserted into the center comes out clean.
- Allow the cupcakes to cool in the pan for 5 minutes before transferring them to a wire rack to cool completely.
- Top with remaining blackberries before serving for added presentation and flavor.

FAQs
What if my cupcakes are too dry?
Ensure you’re measuring your ingredients accurately, and be careful not to overbake them. Baking times can vary with different ovens.
Can I use frozen blackberries instead of fresh?
Yes, you can, but be sure to thaw and drain them before adding to the batter to avoid excess moisture.
What if I want a richer chocolate flavor?
You can increase the amount of cocoa powder to 3/4 cup for an even deeper chocolate taste.
How can I make these cupcakes more visually appealing?
Consider dusting them with powdered sugar or adding a drizzle of melted chocolate on top for a decorative touch.
What should I do if my batter is too thick?
If the batter seems too thick, you can add a bit more buttermilk, a tablespoon at a time, until it reaches a pourable consistency.
Can I make these cupcakes mini-sized?
Absolutely! Just reduce the baking time to about 12-15 minutes for mini cupcakes.
Conclusion
These dark chocolate blackberry cupcakes are more than just a dessert; they are a celebration of flavors that will impress anyone who takes a bite. With their decadent dark chocolate base and refreshing blackberry infusion, they offer a perfect balance of sweetness and depth.
Baking can be a joyful and creative outlet, and these cupcakes are a wonderful way to unleash your inner pastry chef. Enjoy sharing these delightful treats with family and friends or savor them on your own; either way, they promise to bring a smile with every indulgent bite.
Recipe Card
Notes
Additional serving suggestions: pair with a crisp salad, garlic bread, or roasted seasonal vegetables for balance.
For make-ahead, prep components separately and assemble just before heating to preserve texture.
Taste and adjust with acid (lemon/vinegar) and salt right at the end to wake up flavors.