Introduction
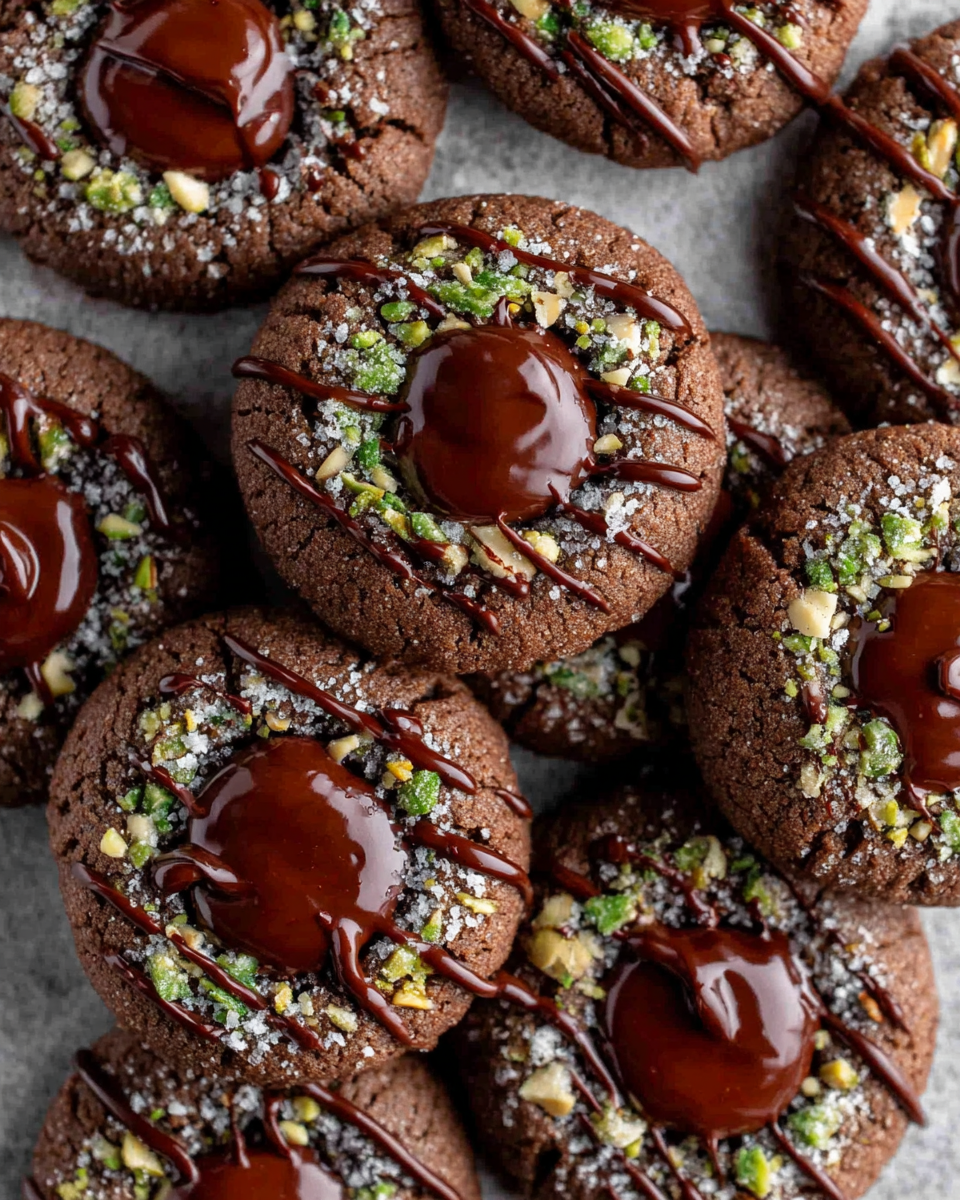
Chocolate thumbprint cookies are a delightful treat that brings a touch of elegance to any dessert table. These cookies feature a rich chocolate base, accentuated by a sweet filling nestled in each thumbprint, making them appealing for both casual gatherings and special occasions.
Their unique look and delicious combination of textures – soft cookie and creamy filling – make them a favorite among cookie lovers. Baking these cookies is not only satisfying but also a fantastic way to indulge your creativity in the kitchen.
Ingredients
- 1 cup unsalted butter, softened
Butter is crucial for creating a rich flavor and tender texture in cookies. Its fat content helps achieve a melt-in-your-mouth quality that is essential for thumbprints. - 1 cup granulated sugar
Sugar sweetens the cookies, adding flavor and helping to create a delicate crispness on the edges. It also contributes to the overall texture of the cookie. - 1 cup brown sugar, packed
Brown sugar adds depth of flavor and moisture to the dough, lending a slight chewiness that complements the chocolate nicely. - 2 large eggs
Eggs act as binders that hold the ingredients together. They also contribute moisture and richness to the cookies. - 2 teaspoons vanilla extract
Vanilla enhances the overall flavor profile of the cookies, providing warmth that balances the chocolate's richness. - 2 cups all-purpose flour
Flour is the main structural component of cookies, providing the bulk and texture. The right amount ensures that the cookie holds its shape. - 1/2 cup unsweetened cocoa powder
Cocoa powder gives the cookies their chocolate flavor. It provides depth and a slight bitterness that contrasts beautifully with the sweetness. - 1 teaspoon baking powder
Baking powder adds leavening, which helps the cookies rise slightly while baking, creating a tender texture. - 1/2 teaspoon salt
Salt enhances all the flavors in the cookies, balancing the sweetness and intensifying the chocolate flavor. - 1 cup chocolate chips or jam for filling
Chocolate chips provide a gooey, melted chocolate experience, while jam offers a fruity contrast that complements the chocolate base effectively.
Directions & Preparation
Step 1: Preheat the oven to 350°F (175°C).
Preheating the oven is crucial for consistent baking. By starting with a hot oven, you help the cookies rise properly and achieve desired texture from the very start.
Step 2: In a large mixing bowl, cream together the softened butter, granulated sugar, and brown sugar until light and fluffy.
Creaming the butter and sugars properly incorporates air into the mixture, leading to a fluffy texture. This step is vital for achieving the right consistency and lightness in the final cookie.
Step 3: Add the eggs one at a time, mixing well after each addition, followed by the vanilla extract.
Incorporating the eggs this way ensures they are evenly distributed throughout the dough, contributing to its moisture and binding properties, while avoiding a curdled texture.
Step 4: In a separate bowl, whisk together the flour, cocoa powder, baking powder, and salt.
Whisking the dry ingredients first helps to evenly distribute the leavening agent and ensures there are no lumps in the cocoa powder, which can affect both texture and taste.
Step 5: Gradually add the dry ingredients to the wet ingredients, mixing until just combined.
Mixing just until combined prevents overworking the dough, which can lead to tough cookies. It's important to maintain a tender texture by mixing gently.
Step 6: Scoop tablespoon-sized balls of dough and place them on a baking sheet lined with parchment paper.
Using a consistent size for each cookie ensures even baking. Lining the sheet with parchment paper prevents sticking and allows for easy removal after baking.
Step 7: Using your thumb, gently press an indent into the center of each dough ball, creating space for the filling.
This thumbprint technique is essential for creating the perfect well for the filling. The size and depth of the indent will affect how much filling can fit into each cookie.
Step 8: Fill each thumbprint with chocolate chips or jam, depending on your preference.
Choosing the right filling can alter both taste and texture. If using chocolate chips, ensure they are evenly distributed; if using jam, don’t overfill to prevent overflow during baking.
Step 9: Bake in the preheated oven for 12-15 minutes or until the edges are set but the centers are still soft.
Baking until just golden on the edges while keeping the centers soft is key for achieving the perfect chewy texture. Allowing them to set on the baking sheet post-oven enhances their structure.
Step 10: Remove from the oven and let cool on the baking sheet for a few minutes before transferring them to a wire rack to cool completely.
Cooling on the sheet allows cookies to firm up, which prevents them from breaking apart. Transferring to a wire rack ensures they cool evenly without becoming soggy.

Elevating Flavor with Unique Fillings
While traditional chocolate chips offer delightful gooeyness, experimenting with various fillings can elevate your chocolate thumbprint cookies to new heights. Imagine vibrant fruit jams, like raspberry or apricot, providing a contrasting flavor that balances the richness of the chocolate. Alternatively, consider nut butters or even flavored chocolate ganaches for a decadent twist that can surprise your taste buds.
Perfecting the Cookie Texture
Achieving the ideal texture is a balance between ingredients and methods. Properly creaming the butters and sugars ensures air incorporation for fluffiness, while careful mixing of dry and wet ingredients maintains the right tender consistency. Additionally, be mindful of the baking time; underbaking slightly can yield a chewy center, while overbaking may lead to dryness.
Presentation Ideas for Cookie Lovers
These chocolate thumbprint cookies not only taste good, but they also look stunning. For a festive touch, dust cookies with powdered sugar or drizzle melted chocolate over the tops. Arranging them on a decorative platter alongside fresh fruits or edible flowers can elevate your dessert table, making it visually appealing and inviting for guests.
FAQs
What texture should I aim for when mixing the dough?
Aim for a smooth and slightly sticky dough that holds together but isn’t overly wet. Avoid over-mixing to keep cookies tender.
Can I use different types of chocolate for the filling?
Absolutely! You can use dark, semi-sweet, or even white chocolate chips, depending on your flavor preference.
What should I do if my dough is too thick?
If your dough seems too thick to scoop, you can add a tablespoon of milk at a time until the desired consistency is reached.
Can I use flavored jams as a filling?
Yes, flavored jams can enhance the cookie experience. Raspberry or strawberry jams pair wonderfully with chocolate.
How do I know when the cookies are adequately baked?
Look for firm edges and a slightly soft center; they will continue to firm up as they cool on the baking sheet.
Can I scale this recipe for a larger batch?
Certainly! Simply multiply each ingredient by the number of times you want to scale up, keeping the ratios consistent.
Conclusion
Baking chocolate thumbprint cookies is both a delightful task and a rewarding experience, culminating in a batch of beautifully crafted treats. These cookies can be customized with your favorite fillings, allowing you to make them uniquely yours.
Whether you’re sharing them with friends or enjoying them solo, these cookies are sure to impress with their combination of rich chocolate flavor and irresistible textures. Get creative in your kitchen and enjoy every bite!
Recipe Card
Notes
Additional serving suggestions: pair with a crisp salad, garlic bread, or roasted seasonal vegetables for balance.
For make-ahead, prep components separately and assemble just before heating to preserve texture.
Taste and adjust with acid (lemon/vinegar) and salt right at the end to wake up flavors.