Introduction
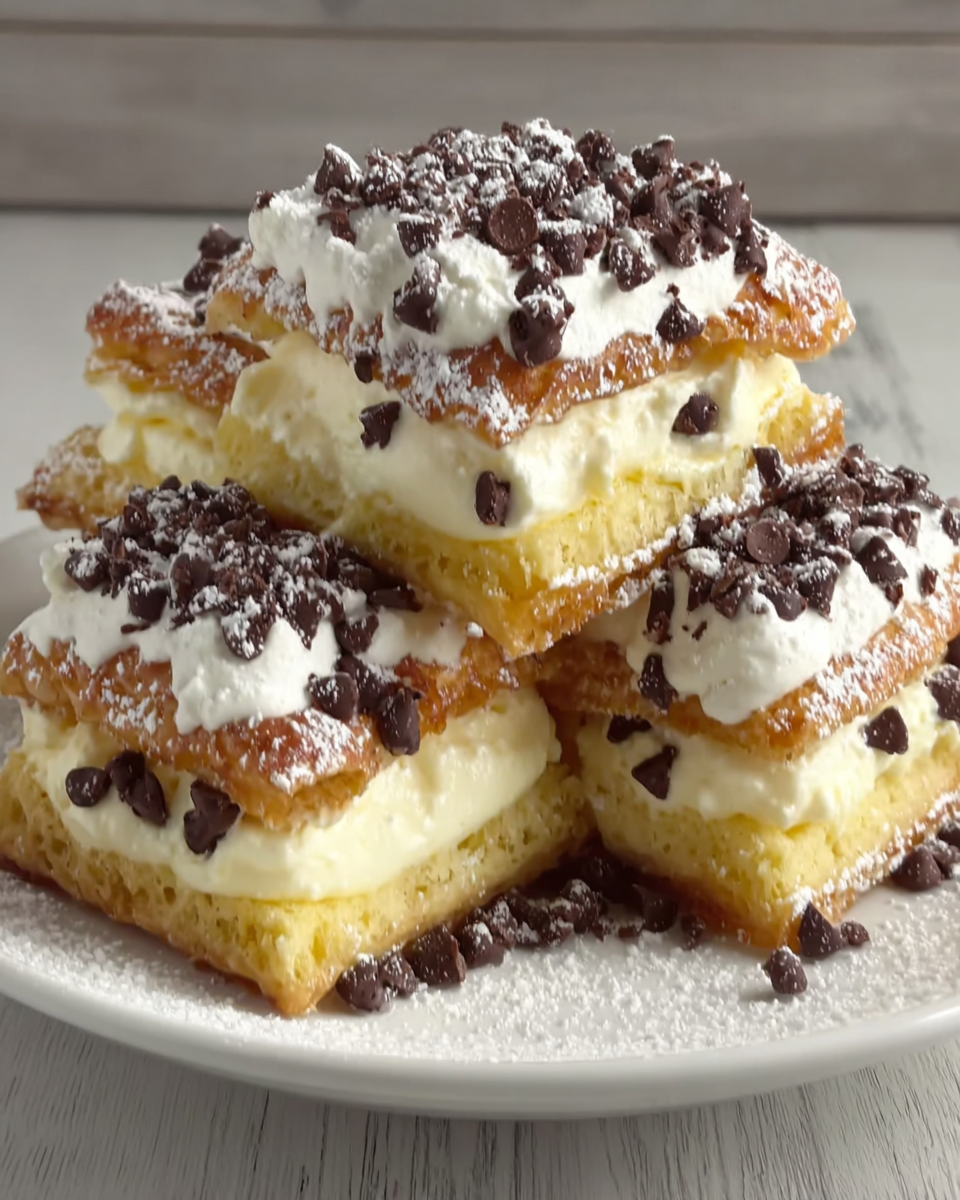
Classic cannoli squares bring all the delightful flavors of the traditional Italian pastry without the fuss of frying. With a creamy ricotta filling layered between a crisp pastry crust, these squares are a perfect dessert for gatherings or a sweet treat at home.
Emulating the rich flavors of cannoli, this dessert is both simple and satisfying. The balance of textures between the crunchy crust and the luscious filling makes every bite a delight, ideal for both novices and experienced home cooks.
Ingredients
- 1 cup all-purpose flour
All-purpose flour forms the backbone of the crust, providing the necessary structure. It absorbs the fats and moisture, ensuring the base is both crisp and set, yielding the characteristic texture of a traditional cannoli shell. - 1/4 cup unsalted butter, softened
Butter adds richness to the crust, contributing to its flaky texture. It also aids in flavor, making the base taste more indulgent and balancing the sweetness of the filling. - 1/4 cup granulated sugar
Sugar is essential for sweetness in the crust, helping to caramelize it slightly as it bakes. It also enhances the overall flavor profile, creating a contrast with the creamy filling. - 1/2 teaspoon salt
Salt heightens all the flavors in the dessert and balances the sweetness, ensuring that neither flavor overpowers the other. It plays a key role in enhancing the overall taste of both the crust and the filling. - 1 large egg, beaten
The beaten egg serves multiple roles: it helps bind the crust together, adds moisture, and promotes browning, which contributes to both the color and texture as it bakes. - 2 cups ricotta cheese, drained
Ricotta cheese is the star of the filling, providing its creamy texture and mild flavor. Draining it is crucial to prevent excess moisture, which could make the filling too runny. - 1 cup powdered sugar
Powdered sugar sweetens the ricotta filling, allowing it to remain smooth and creamy. Its fine texture helps achieve a velvety consistency, perfect for spreads. - 1 teaspoon vanilla extract
Vanilla extract enriches the filling with fragrance and depth of flavor, complementing the sweetness of the ricotta and powdered sugar. - 1/2 teaspoon cinnamon
Cinnamon adds warmth and a hint of spice to the filling, enhancing its flavor profile and tying all the components together for a well-rounded taste. - 1/4 cup mini chocolate chips
Chocolate chips introduce bursts of sweetness and texture into the filling, resembling the classic cannoli's chocolate accents while making the dessert visually appealing.
Directions & Preparation
Step 1: Prepare the crust.
In a mixing bowl, combine the flour, softened butter, sugar, and salt. Mix until crumbly, then add the beaten egg and combine until the dough forms. This step is crucial as it lays the foundation for your cannoli squares. The mixture should hold together but remain light. If it feels too dry, a splash of cold water can help bring it together without overworking the dough.
Step 2: Press the crust into the baking dish.
Grease a 9×9 inch baking dish, and then evenly spread the crust mixture along the bottom. Press firmly to create an even layer, making sure there are no gaps. This step ensures a uniform texture and even baking. A flat, well-pressed crust will help keep the filling stable and prevent it from seeping through.
Step 3: Bake the crust.
Preheat your oven to 350°F (175°C). Bake the crust for 15-20 minutes or until lightly golden. This baking process not only cooks the dough but also creates that desirable crunch typical of a cannoli shell. Keep an eye on it in the last few minutes to avoid overbaking, as the color can darken quickly.
Step 4: Prepare the filling.
While the crust is baking, combine drained ricotta, powdered sugar, vanilla extract, cinnamon, and mini chocolate chips in a bowl. Mix until smooth and well-integrated. This filling is the heart of your dessert, and achieving a creamy, well-mixed texture is key. Ensure the ricotta is well-drained to avoid a soggy filling that won't hold its shape.
Step 5: Spread filling over the cooled crust.
Once your crust has cooled completely, evenly spread the filling over the surface. Use a spatula to smooth it out gently, ensuring each bite will have enough of that delicious filling. Spreading the filling evenly helps maintain balance with the crust, maximizing the flavor in every bite.
Step 6: Chill before serving.
Refrigerate the assembled cannoli squares for at least 2 hours. This chilling time allows the flavors to meld and the filling to firm up. It enhances the dessert's texture, making it easier to cut into squares. Slicing too soon could result in a messy presentation, so patience pays off here.
Step 7: Slice and serve.
Using a sharp knife, cut the squares into equal portions after chilling. This step highlights the distinct layers of crust and filling, presenting beautifully for your guests. Consider garnishing with a dusting of powdered sugar or a sprinkle of cinnamon for an elegant touch.

Crafting the Perfect Cannoli Crust
The crust is essential for achieving the classic cannoli texture. It needs to be firm yet tender, crisp yet not brittle. Using cold butter and mixing only until combined helps achieve this ideal balance. Don't shy away from pressing it well into the baking dish; a good base is what will support the rich filling and give structure to your squares.
Flavor Variations for the Filling
While this recipe offers a traditional approach, feel free to experiment with flavoring your filling. Substitute vanilla with almond extract for a nutty twist or incorporate citrus zest for a refreshing brightness. Each addition can take your cannoli squares in a new direction, reflecting seasonal ingredients or personal preferences.
Serving Suggestions and Pairings
These cannoli squares shine on their own but can be paired beautifully with a simple berry compote or espresso for a full dessert experience. Serving with fresh fruit enhances the rich sweet flavors while contrasting textures, creating a balanced plate that will impress guests at any occasion.
FAQs
What if my crust shrinks during baking?
If your crust shrinks, it may have been overworked or not chilled enough before baking. Try handling the dough gently and chilling it for 20–30 minutes prior to pressing it into the dish.
Can I substitute the ricotta cheese with another type of cheese?
While ricotta is traditional, you can use mascarpone for a creamier filling. However, adjust the sweetness as mascarpone is richer and can be sweeter than ricotta.
What can I do if the filling is too sweet?
If you find the filling too sweet, adding a pinch of salt or a few drops of lemon juice can help balance the flavors. Taste as you go to find the right adjustment.
How can I ensure my filling is smooth?
To achieve a smooth filling, ensure the ricotta is well-drained before mixing. Beating the mixture thoroughly will also help incorporate air and eliminate any lumps.
What if my squares break when cutting?
If your cannoli squares crumble upon cutting, it could be due to under-baking. Make sure the crust is fully cooked and has cooled adequately before slicing to maintain its structure.
What if I want to add more chocolate chips?
You can certainly add more chocolate chips for extra sweetness and texture. Just ensure the added amount doesn’t overpower the filling flavor and adjust the sugar accordingly.
Conclusion
Classic cannoli squares are a delightful twist on a traditional Italian favorite, perfectly blending textures and flavors to create an inviting dessert for any occasion. With a few straightforward steps, you can impress your friends and family with a sweet treat that evokes the rich heritage of Italian cuisine.
So whether it's a festive gathering or simply a craving for something sweet, these cannoli squares deliver nostalgia and satisfaction in every bite. Embrace the flavors and have fun creating this versatile dessert that’s sure to become a favorite.
Recipe Card
Notes
Additional serving suggestions: pair with a crisp salad, garlic bread, or roasted seasonal vegetables for balance.
For make-ahead, prep components separately and assemble just before heating to preserve texture.
Taste and adjust with acid (lemon/vinegar) and salt right at the end to wake up flavors.