Introduction
Cheesy pizza pockets are the perfect snack for those busy weeknights or lazy weekends. These handheld delights combine the comforting flavors of pizza with a crispy crust that begs to be bitten into. Whether you’re craving a quick lunch, an after-school treat, or a movie night snack, these pizza pockets promise satisfaction in every bite.
Making them at home means you can customize the fillings to suit your taste or dietary preferences. In just a few simple steps, you can whip up a batch that’s packed with gooey cheese, zesty sauce, and your choice of toppings. Let's dive in and explore how to create these delicious pockets that are perfect for dipping and sharing.
Ingredients
- 1 package of pizza dough
Pizza dough serves as the flaky and chewy outer layer of the pizza pocket, providing a satisfying texture that complements the filling. - 1 cup shredded mozzarella cheese
Mozzarella is the classic choice for pizza due to its excellent melting properties and rich flavor that keeps the filling gooey. - 1/2 cup pizza sauce
The pizza sauce adds a tangy and savory element, ensuring each bite is packed with robust flavor that ties the filling together. - 1/2 cup pepperoni slices
Pepperoni adds a classic pizza touch with its spicy, savory taste, but you can easily swap it with vegetables or other proteins. - 1 egg, beaten
This egg wash helps to seal the edges of the pizza pockets and creates a golden-brown finish when baked. - Flour for dusting
A light dusting of flour prevents the dough from sticking to your surface, making it easier to roll out and shape the pockets.
Directions & Preparation
Step 1: Preheat the oven to 425°F (220°C).
Setting the oven to the right temperature is essential for achieving a perfect golden-brown crust. Preheating your oven allows for even cooking and helps the dough puff up while maintaining a tender interior.
Step 2: Roll out the pizza dough on a lightly floured surface.
Rolling out the dough to about a quarter-inch thickness ensures that your pizza pockets are not too thick or too thin. Too thick, and they won't cook through; too thin, they may burst during baking. Make sure the dough has an even thickness for best results.
Step 3: Cut the dough into squares or circles.
Use a pizza cutter or a knife to slice the rolled-out dough into equal squares (or circles). This uniformity aids in even cooking and ensures that each pocket is filled with an equal amount of ingredients.
Step 4: Place cheese, sauce, and toppings on one half of each piece of dough.
Adding your cheese, sauce, and toppings on one side helps create a filling that is both delicious and easy to close. Don't overfill, as leaving some space around the edges will help with sealing.
Step 5: Fold the dough over and press the edges to seal.
Sealing the edges is a crucial step; if they are not pressed firmly enough, the fillings can escape during baking. Use your fingers or a fork to create a firm seal, ensuring the contents stay inside.
Step 6: Brush the pockets with the beaten egg.
Egg wash not only acts as a glue for the edges but also gives the pizza pockets a beautiful, shiny, and golden appearance when baked. It adds an appealing color and slight crispness to the crust.
Step 7: Arrange the pockets on a baking sheet lined with parchment paper.
Using parchment paper helps prevent sticking and allows for easy cleanup. Additionally, it promotes even cooking without burning the bottoms of the pockets.
Step 8: Bake in preheated oven for 12-15 minutes, or until golden brown.
Baking time may vary depending on your oven. Keep an eye on your pizza pockets as they bake; a golden color is your signal that they are ready to be taken out and enjoyed.

Perfecting the Dough Texture
The dough for these pizza pockets should be elastic yet firm enough to hold the filling without tearing. To achieve this, ensure you don’t overwork the dough during rolling and cutting. Additionally, letting it rest for a few minutes will help relax the gluten, making it easier to shape. If you’re using store-bought dough, follow the package instructions regarding the resting time and temperature.
Customizing Fillings to Your Liking
One of the best parts of making these pizza pockets is personalizing them. You can swap out mozzarella for provolone or add veggies like bell peppers or mushrooms for a heartier bite. Think of your favorite pizza toppings and integrate them into your filling—this versatility means you can create variations that cater to different tastes, whether savory or spicy.
Serving Suggestions for Your Pizza Pockets
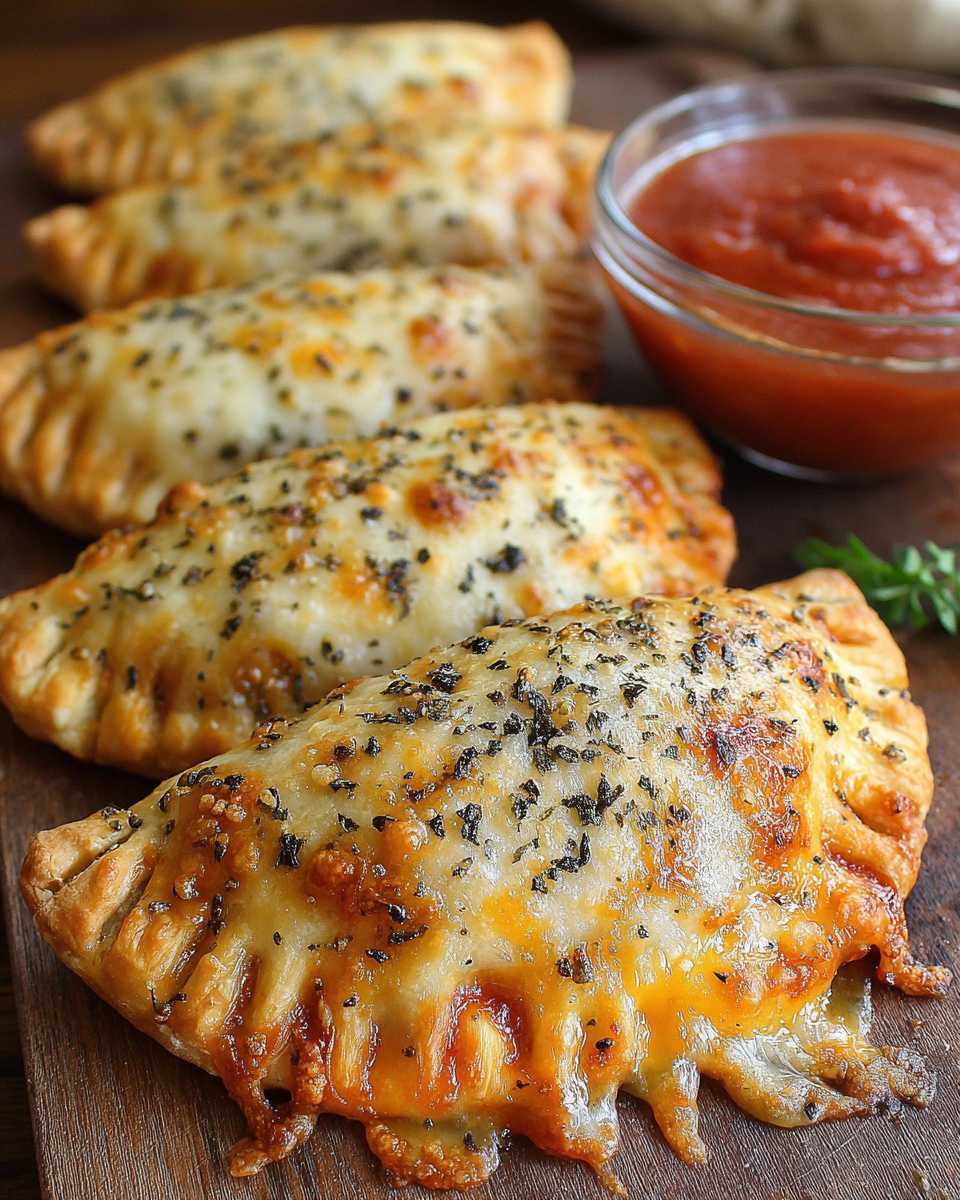
Though delicious on their own, these pizza pockets can be transformed into a more complete meal with the right accompaniments. Serve them with a side of marinara or ranch for dipping, or pair them with a fresh salad for a balanced meal. Consider adding a sprinkle of fresh herbs like basil or oregano on top for added flavor and a touch of freshness.
FAQs
What can I do if my pizza pockets explode in the oven?
If your pizza pockets explode, they may have been overfilled or not sealed properly. Ensure to leave some space around the edges and press them firmly to seal before baking.
Can I use alternative cheeses besides mozzarella?
Yes, you can use alternative cheeses like cheddar, gouda, or even vegan substitutes for a different flavor profile. Just ensure they melt well to maintain the desirable gooey texture.
What if my dough is too sticky to work with?
If the dough is too sticky, sprinkle a little more flour on your work surface and hands to help manage it. Additionally, let it chill in the fridge for about 30 minutes to make it easier to handle.
Can I make these without pizza sauce?
Absolutely! You can use other sauces like pesto, barbecue sauce, or even a mixture of olive oil and garlic for a different flavor approach.
How can I enhance the flavor of the filling?
To enhance the flavor, consider adding spices like Italian seasoning or crushed red pepper flakes into the filling. Fresh herbs can also boost the taste.
What if I want to scale up the recipe?
To scale up, simply increase the quantities of each ingredient while maintaining the same method. Ensure you have enough space on your baking sheet for even cooking.
Conclusion
Homemade cheesy pizza pockets bring comfort food to a new level, allowing for endless customization and creativity. With just a few ingredients and simple steps, these delights can quickly become a favorite in your kitchen.
Whether for a quick dinner or a fun snack to share, these pizza pockets are sure to please any crowd. Enjoy experimenting with flavors and watch as they disappear from your table!
Recipe Card
Notes
Additional serving suggestions: pair with a crisp salad, garlic bread, or roasted seasonal vegetables for balance.
For make-ahead, prep components separately and assemble just before heating to preserve texture.
Taste and adjust with acid (lemon/vinegar) and salt right at the end to wake up flavors.